
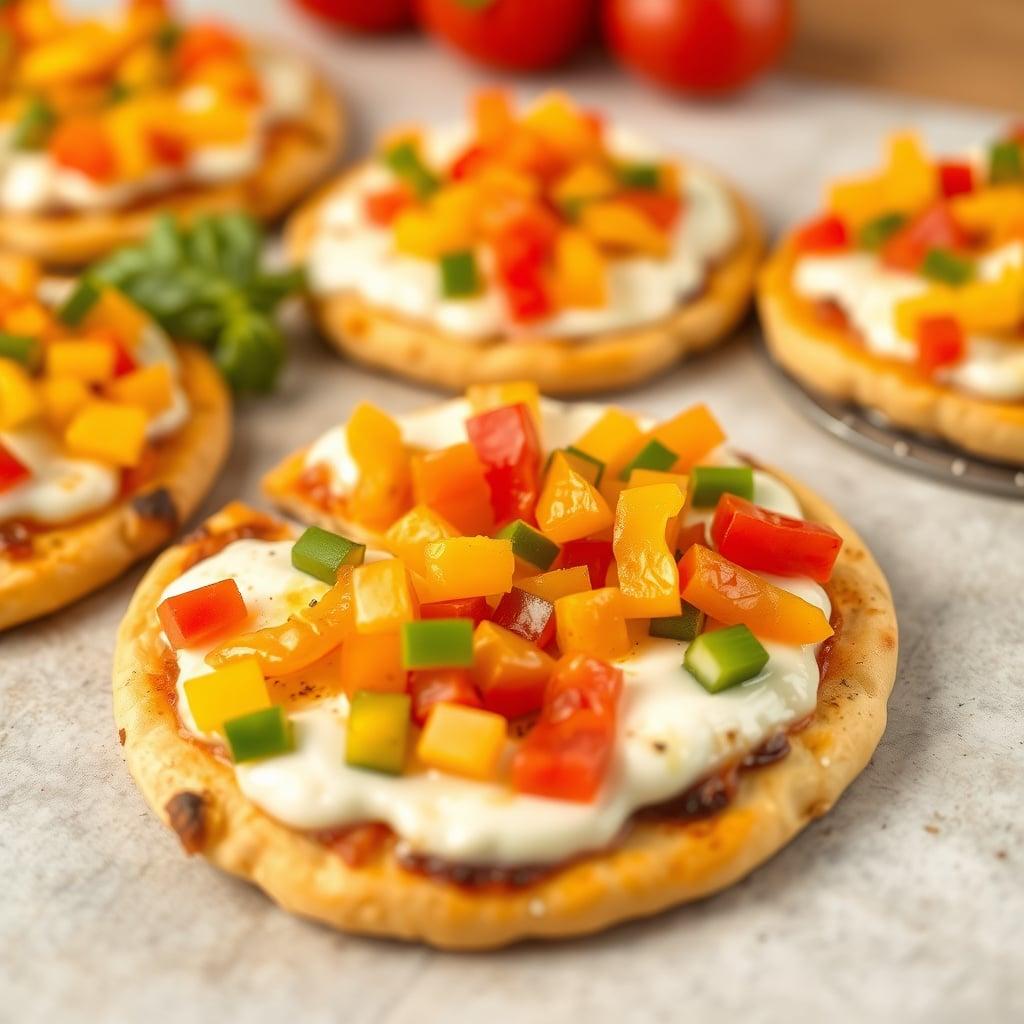
Build-Your-Own Pita Pizzas with Sweet Bell Peppers
15min
10min
3
385
Free account. Otto builds a week around this recipe, with the shopping list done.
Chef's Note
To make the pita crusts extra crispy, you can lightly brush both sides of the pitas with a tiny bit of olive oil and pre-bake them for 3 minutes before adding the toppings!
Tags
Ingredients
3 pieces pita bread rounds
1 cup canned crushed tomatoes
1 clove garlic
1/2 tsp dried oregano
6 oz low-moisture mozzarella cheese
1/2 medium red bell pepper
1/2 medium yellow bell pepper
1 tbsp olive oil
1/4 tsp salt
1/8 tsp black pepper
Instructions
- 1
Preheat the oven to 400°F (200°C) and line a large baking sheet with parchment paper.
- 2
Wash the 1/2 red bell pepper and 1/2 yellow bell pepper. Remove the seeds and membranes, then finely dice them into small, kid-friendly pieces. Place the diced peppers into small bowls.
- 3
Grate the 6 oz of low-moisture mozzarella cheese using a box grater and place it in a separate bowl.
- 4
Peel and finely mince the 1 garlic clove.
- 5
In a small bowl, prepare the mild pizza sauce by combining the 1 cup of canned crushed tomatoes, minced garlic clove, 1/2 tsp of dried oregano, 1 tbsp of olive oil, 1/4 tsp of salt, and 1/8 tsp of black pepper. Stir well to combine.
- 6
Place the 3 pita bread rounds on the prepared baking sheet.
- 7
Set up your assembly station with the bowls of mild pizza sauce, grated mozzarella cheese, and diced bell peppers.
- 8
Spread about 3 tablespoons of the prepared pizza sauce evenly over each pita bread round.
- 9
Sprinkle each pita with 2 oz of the grated mozzarella cheese, then let everyone customize their pizzas by topping them with the diced red and yellow bell peppers.
- 10
Bake in the preheated oven for 8 to 10 minutes, or until the mozzarella is completely melted, bubbly, and lightly golden brown, and the pita crust is crisp.
- 11
Remove from the oven, let cool for 2 minutes, slice into wedges, and serve.
Nutrition Information (per serving)
385
20g
40g
15g
Reviews (0)
No reviews yet
Be the first to review this recipe!