
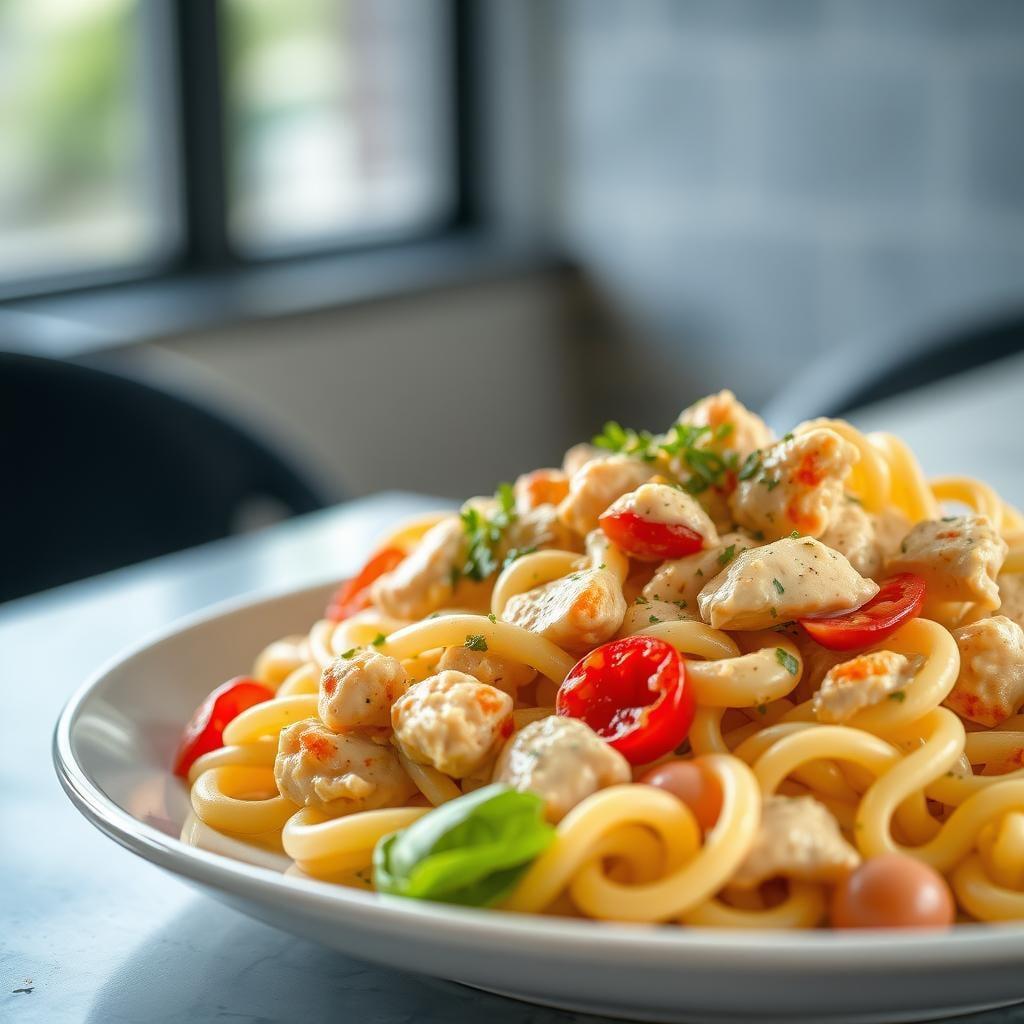
Creamy Chicken Pasta Salad
15min
15min
2
611
Chef's Note
This creamy pasta salad is perfect for both adults and toddlers! The peas are listed as optional since you mentioned not liking most veggies. For a time-saving tip, you can use rotisserie chicken instead of cooking chicken breasts. The pasta salad keeps well in the refrigerator for up to 3 days, making it great for meal prep.
Tags
Ingredients
6 oz rotini pasta
8 oz boneless skinless chicken breast
3 oz cream cheese, softened
2 tbsp mayonnaise
2 tbsp sour cream
1/2 tsp garlic powder
1/2 tsp dried dill
1 tsp dried parsley
1/2 tsp salt
1/4 tsp black pepper
1 tbsp lemon juice
1/3 cup frozen peas (optional)
1/3 cup shredded cheddar cheese
1 tbsp olive oil
Instructions
- 1
Bring a medium pot of salted water to a boil. Add 6 oz of rotini pasta and cook according to package directions until al dente (usually 8-10 minutes). During the last minute of cooking, add 1/3 cup of frozen peas if using. Drain pasta and peas, then rinse under cold water to stop cooking. Set aside.
- 2
While pasta is cooking, season 8 oz of chicken breast with salt and pepper. Heat 1 tbsp of olive oil in a skillet over medium heat. Cook chicken for 5-7 minutes per side until internal temperature reaches 165°F (74°C).
- 3
Remove chicken from skillet and let rest for 5 minutes. Then cut into 1/2-inch cubes.
- 4
In a large mixing bowl, combine 3 oz softened cream cheese, 2 tbsp mayonnaise, and 2 tbsp sour cream. Whisk until smooth and creamy.
- 5
Add 1/2 tsp garlic powder, 1/2 tsp dried dill, 1 tsp dried parsley, 1/2 tsp salt, 1/4 tsp black pepper, and 1 tbsp lemon juice to the cream mixture. Stir well to combine.
- 6
Add the cooled pasta, peas (if using), and cubed chicken to the cream mixture. Gently fold everything together until well coated.
- 7
Fold in 1/3 cup shredded cheddar cheese.
- 8
Cover and refrigerate for at least 30 minutes before serving to allow flavors to meld. The pasta salad can be served chilled or at room temperature.
Nutrition Information (per serving)
611
38g
69g
21g
Reviews (0)
No reviews yet
Be the first to review this recipe!