
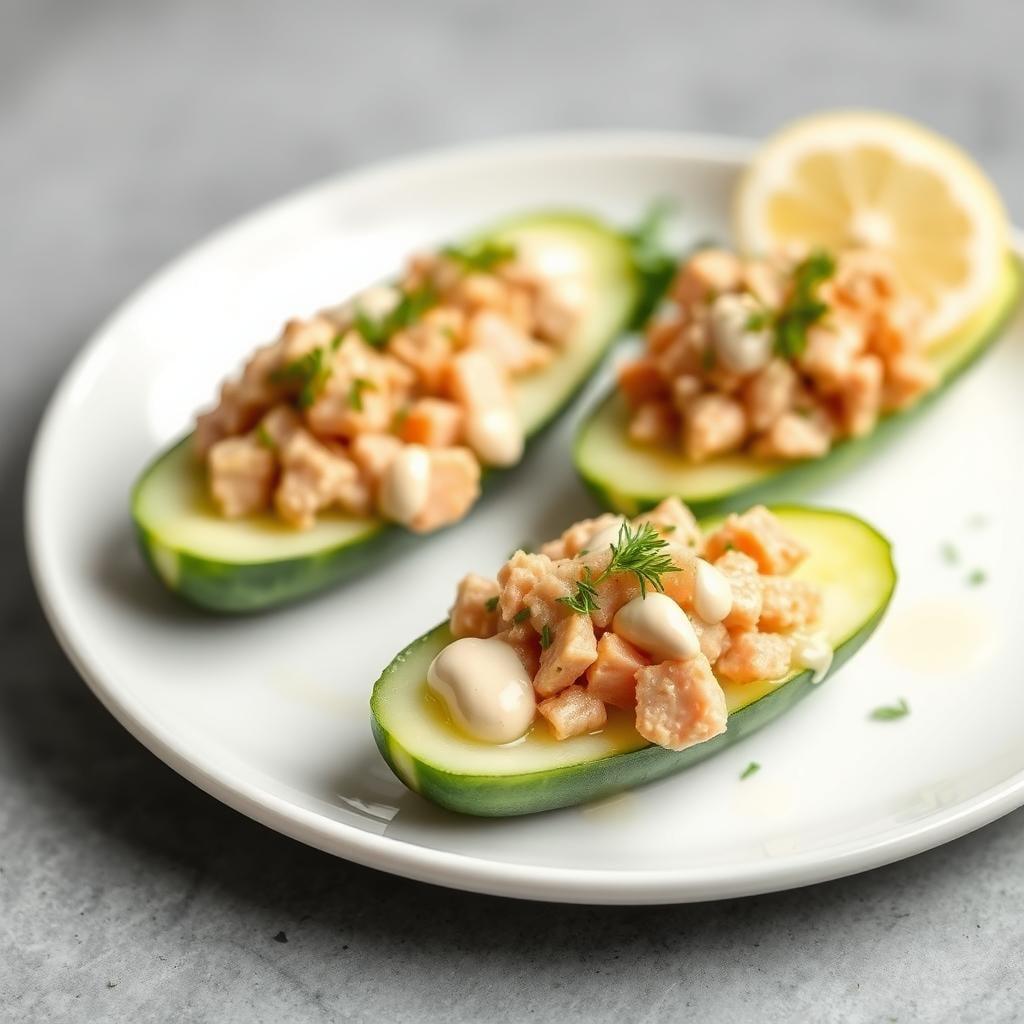
Cucumber Tuna Boats with Lemon Dill Dressing
20min
0min
1
389
Chef's Note
For the best texture, make sure to thoroughly drain the tuna before mixing with other ingredients. If you're meal prepping, keep the tuna mixture separate from the cucumber boats until ready to serve to prevent the cucumber from becoming soggy. You can also substitute fresh herbs with dried ones at a ratio of 1:3 (1 tbsp fresh = 1 tsp dried) if fresh herbs aren't available.
Tags
Ingredients
1 large English cucumber
6 oz canned tuna in water, drained
2 tbsp Greek yogurt, plain, non-fat
1 tbsp fresh lemon juice
1/2 tsp lemon zest
1 tbsp fresh dill, chopped
1 tsp Dijon mustard
2 tbsp red onion, finely diced
1 stalk celery, finely diced
1 tsp capers, drained
1 tsp extra virgin olive oil
1/4 tsp salt
1/8 tsp black pepper
4 each cherry tomatoes, halved
1/4 cup microgreens or sprouts
Instructions
- 1
Wash the English cucumber thoroughly and pat dry with paper towels.
- 2
Cut the cucumber in half lengthwise, then use a spoon to carefully scoop out the seeds, creating a boat-like shape. Pat the inside dry with paper towels.
- 3
In a mixing bowl, combine 6 oz of drained tuna, 2 tbsp of Greek yogurt, 1 tbsp of lemon juice, 1/2 tsp of lemon zest, 1 tbsp of chopped fresh dill, 1 tsp of Dijon mustard, 2 tbsp of diced red onion, 1 diced celery stalk, 1 tsp of capers, 1 tsp of olive oil, 1/4 tsp of salt, and 1/8 tsp of black pepper.
- 4
Mix the ingredients thoroughly, breaking up any large chunks of tuna with a fork to create a uniform consistency.
- 5
Taste the tuna mixture and adjust seasoning if necessary.
- 6
Spoon the tuna mixture evenly into the cucumber boats, pressing gently to ensure it stays in place.
- 7
Garnish with halved cherry tomatoes and microgreens or sprouts for added color, texture, and nutrients.
- 8
For the best flavor, refrigerate for 10 minutes before serving to allow the flavors to meld together.
- 9
Serve chilled on a bed of additional microgreens if desired.
Nutrition Information (per serving)
389
49g
20g
13g
Reviews (0)
No reviews yet
Be the first to review this recipe!