The Complete Container Guide: How to Store Every Food for Maximum Freshness
Master meal prep storage with this comprehensive guide to choosing the right containers for every food type. Learn which materials work best and why.
Alex Thompson
Food Editor
February 2, 2026
9 min read
6 views
You've spent Sunday afternoon chopping vegetables, marinating proteins, and cooking grains for the week ahead. Everything looks beautiful as you pack it away. But by Wednesday, your crisp lettuce is wilted, your chicken tastes like plastic, and your tomato sauce has somehow stained yet another container beyond recognition. Sound familiar?
The truth is, meal prep success isn't just about cooking—it's about understanding how different foods behave in storage and matching them with the right containers. The wrong storage choice can turn a week's worth of delicious meals into disappointing lunches that leave you reaching for takeout instead.
Let's dive into the science and strategy of food storage so your meal prep stays fresh, flavorful, and ready to enjoy all week long.
Understanding Food Storage Fundamentals
Before we match containers to foods, it's essential to understand what happens to food in storage. Three primary factors affect freshness: moisture loss, oxygen exposure, and temperature fluctuations. Different foods are vulnerable to these factors in different ways.
Leafy greens, for instance, lose moisture rapidly and wilt when exposed to air. Fats and oils oxidize when they meet oxygen, turning rancid. Starches like rice and pasta absorb moisture and can become mushy or, conversely, dry out and harden. Your storage strategy needs to address these specific vulnerabilities.
The Container Material Matters
Glass doesn't absorb odors or stains and can go from fridge to oven, but it's heavy and breakable. Plastic is lightweight and affordable but can stain, absorb odors, and degrade over time. Stainless steel is durable and eco-friendly but isn't microwave-safe and you can't see contents without opening it.
Proteins: Preventing Flavor Transfer and Freezer Burn
Cooked proteins are meal prep staples, but they're also the most sensitive to improper storage. Whether you're storing grilled chicken, braised beef, or baked tofu, you need containers that create an airtight seal to prevent oxidation and keep other refrigerator odors from infiltrating your food.
For refrigerator storage (3-4 days), glass containers with silicone-sealed lids are your best friend. They don't absorb the flavors of yesterday's curry or last week's salmon, and they maintain an excellent seal. Choose containers that fit your portion sizes closely—excess air space accelerates spoilage.
For freezer storage, the rules change. Freezer burn occurs when moisture evaporates from food and recrystallizes on the surface, creating those unappetizing gray-brown patches. Use freezer-specific containers or heavy-duty freezer bags, removing as much air as possible. If using rigid containers, leave about half an inch of headspace for liquids to expand as they freeze.
The Paper Towel Trick
Place a paper towel at the bottom of your protein container before adding food. It absorbs excess moisture that can make proteins soggy or encourage bacterial growth. Replace it halfway through the week for optimal freshness.
"The right container isn't just storage—it's an insurance policy for your meal prep investment."
Professional Meal Prep ChefVegetables: Managing Moisture and Ethylene
Vegetables are tricky because different types need completely different storage approaches. The key is understanding whether your vegetable needs to retain moisture or release it.
Leafy Greens and Herbs: These need humidity but not wetness. Store washed and thoroughly dried greens in containers lined with paper towels, or use specialized produce containers with adjustable vents. Never seal them completely airtight—they need some air circulation to prevent sliminess. Change the paper towels every 2-3 days.
Chopped Raw Vegetables: Carrots, celery, bell peppers, and cucumbers stay crisp when stored in water. Place them in containers covered with fresh water, changing it every other day. This works particularly well for celery and carrots, which can last up to two weeks this way.
Cooked Vegetables: These need the opposite approach—minimal moisture and good airflow. Store roasted or steamed vegetables in containers that aren't completely airtight. Vented containers or those with adjustable seals work perfectly. If using standard containers, leave the lid slightly ajar for the first few hours after cooking to let steam escape.
Tomato Trouble
Never store acidic foods like tomato sauce in reactive metal containers or low-quality plastic. The acid can leach chemicals from plastic or react with metal. Always use glass or high-quality BPA-free plastic rated for acidic foods. This applies to citrus-based dressings and vinegar-heavy marinades too.
Grains and Starches: Controlling Moisture
Cooked rice, pasta, quinoa, and other grains present a unique challenge: they continue to absorb or release moisture after cooking, affecting their texture dramatically.
For same-week consumption, store cooked grains in airtight containers in the refrigerator. Here's the crucial step most people miss: let them cool completely at room temperature (no more than 2 hours for food safety) before sealing. Trapping steam creates condensation, which makes grains gummy and can promote bacterial growth.
When reheating, add a tablespoon of water per cup of grains and cover while microwaving. This creates steam that rehydrates the starches without making them mushy. For stovetop reheating, use a splash of broth or water in a covered pan over low heat.
Batch Freezing Grains
Freeze cooked grains in portion-sized amounts using a muffin tin. Once frozen solid, pop them out and store in freezer bags. You'll have perfectly portioned servings that reheat in minutes—ideal for last-minute meal assembly.
Sauces and Liquids: Preventing Spills and Stains
Liquid storage seems straightforward until you've dealt with a leaked curry sauce all over your refrigerator shelf or permanent turmeric stains on your favorite container.
For sauces, soups, and dressings, use containers with screw-top lids rather than snap-on lids. The threading creates a more secure seal that's less likely to pop open when jostled. Always leave at least half an inch of headspace—liquids expand when frozen and can push lids off if overfilled.
Glass mason jars excel for dressings and sauces, particularly vinaigrettes that separate. The wide mouth makes them easy to shake before use, and you can see exactly what's inside. For stain-prone sauces like tomato or curry, glass is non-negotiable unless you don't mind rainbow-tinted plastic.
The Ice Cube Method
Freeze herb-infused oils, pesto, or concentrated sauces in ice cube trays. Once solid, transfer to freezer bags. Each cube is roughly two tablespoons—perfect for seasoning a single portion without thawing an entire container.
Baked Goods and Bread: Balancing Moisture and Staleness
Bread products stale through a process called retrogradation, where starch molecules recrystallize. This happens faster at refrigerator temperatures, which is why refrigerated bread often tastes worse than room-temperature bread.
For short-term storage (2-3 days), keep bread in breathable containers at room temperature. Bread boxes or paper bags work better than plastic, which traps moisture and encourages mold. For meal-prepped sandwiches, wrap them in parchment paper first, then place in containers—this prevents sogginess while maintaining structure.
For longer storage, freeze is better than refrigerate. Slice bread before freezing so you can toast individual pieces straight from the freezer. Wrap tightly in plastic wrap, then aluminum foil, or use freezer-specific bags with air removed.
Muffins, cookies, and other baked goods stay fresh in airtight containers with a piece of bread added to the container. The baked goods will absorb moisture from the bread slice, staying soft while the bread itself hardens (replace it every few days).
Mixed Meals and Bowls: The Assembly Strategy
Grain bowls, salads, and mixed meals require a different approach: component separation. Storing everything mixed together often results in soggy, unappetizing meals by mid-week.
Use compartmented containers (bento-style boxes) to keep ingredients separate until eating. Store dressings and sauces in small separate containers or use containers with built-in sauce cups. This is particularly crucial for salads—dress them immediately before eating, never in advance.
For maximum freshness, consider a semi-assembled approach: prep and store components separately in larger containers, then assemble individual portions each morning. Yes, it adds two minutes to your morning routine, but the quality difference is dramatic.
The Layer Method for Salads
If you must pre-assemble salads, use mason jars with this layering order from bottom to top: dressing, hard vegetables (carrots, cucumbers), proteins, softer vegetables, grains or pasta, and greens on top. The greens stay crisp because they never touch the dressing until you shake and pour.
Smart Container Management Systems
Beyond choosing the right container for each food, successful meal preppers develop systems for managing their container collection. Here's what works:
Standardize your sizes: Choose 2-3 container sizes that work for your typical portions. Having 47 mismatched containers with missing lids is the enemy of efficient meal prep. A standard set might include 4-cup containers for grains and proteins, 2-cup containers for vegetables and sides, and 1-cup containers for sauces and snacks.
Label everything: Invest in a label maker or use painter's tape and a marker. Include the contents and date prepared. This prevents mystery containers from lurking in the back of your fridge and helps you rotate stock properly.
Create zones: Designate specific areas of your refrigerator for meal prep containers. This makes it easy to grab what you need and helps you see at a glance what you have available.
The Investment Mindset
Quality containers aren't cheap, but they're not expensive when you consider the cost of wasted food and abandoned meal prep. A set of good glass containers might cost $50-80, but they'll last years and save you hundreds in prevented food waste.
Start with one complete set of matching containers rather than accumulating random pieces. You can always expand your collection as your meal prep routine develops. Look for containers that are dishwasher-safe, microwave-safe (if not metal), and have warranties—quality manufacturers stand behind their products.
The container you choose isn't just about storage—it's about respecting the time and effort you put into meal preparation. When you match the right container to each food type, you're ensuring that Thursday's lunch tastes just as good as Sunday's test portion. That's the difference between meal prep that works and meal prep that gets abandoned by Wednesday.
Now that you understand the principles, look at your current container collection with fresh eyes. What's working? What's causing problems? Sometimes the simplest upgrade—switching your lettuce to a vented container or your rice to glass—can transform your entire meal prep experience. The right container isn't just storage; it's the bridge between your effort and your enjoyment.
Try This Recipe
Now that you've learned about the container guide: best storage for different foods, put your knowledge into practice with this recipe:
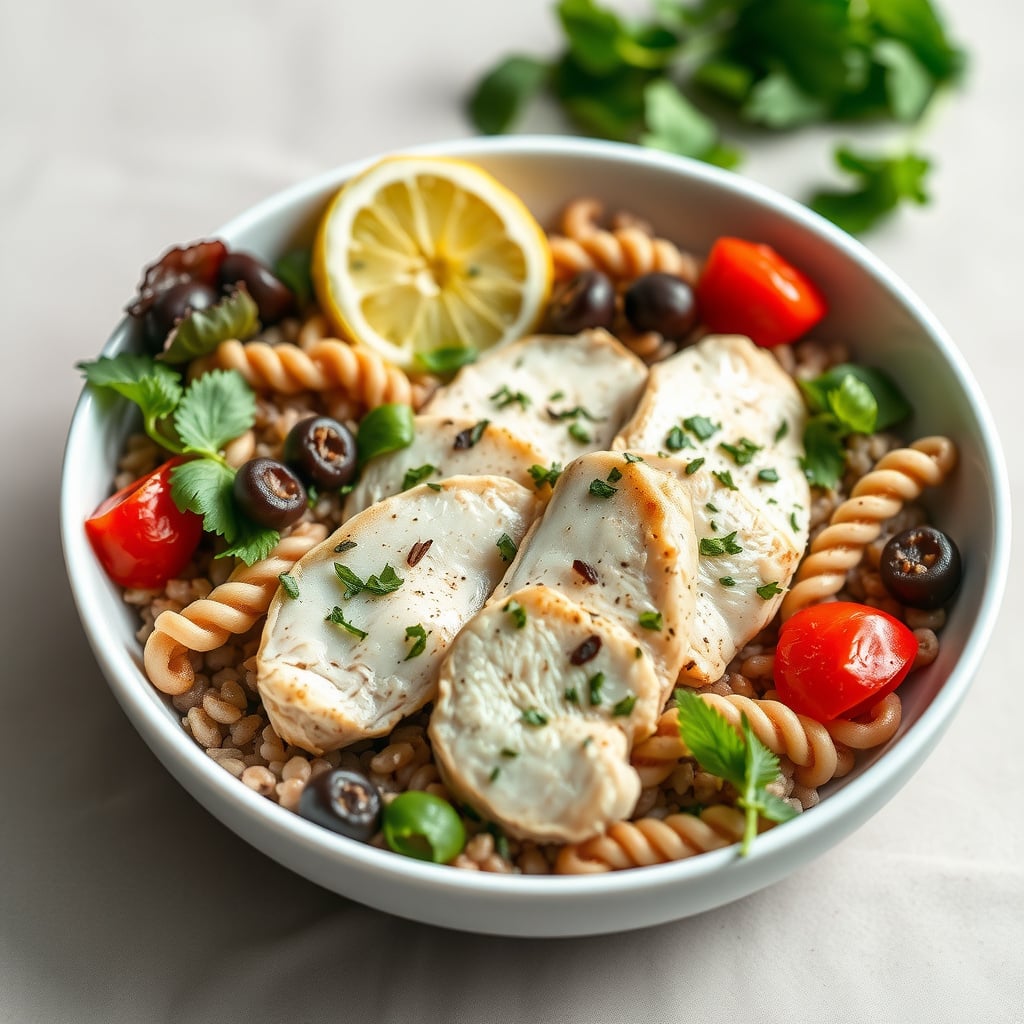
Mediterranean Grain Bowl with Herb-Marinated Chicken
45min
4
View Full Recipe →
Ready to simplify your meal planning?
Let OttoChef AI create personalized meal plans for your family in seconds.