Mastering Whole Grains: Nutrition, Flavor, and Perfect Texture
Learn how to cook whole grains perfectly every time. Discover the nutritional benefits, storage tips, and essential techniques for grains like farro and quinoa.
Marcus Rivera
Culinary Editor
May 31, 2026
5 min read
1 view
Many home cooks hesitate to use whole grains because of past experiences with mushy textures, inconsistent cooking times, or a lack of flavor. While white rice and refined pasta are reliable staples, they lack the complex nutty notes and substantial bite that whole grains provide. Transitioning to whole grains isn't just a nutritional choice; it is a culinary upgrade that introduces diverse textures and earthy depths to your kitchen repertoire. Understanding the anatomy of these grains and the specific techniques required to soften their tough exterior while maintaining a distinct 'pop' is essential for any cook looking to level up their skills.
The Anatomy of a Grain
A whole grain consists of three distinct parts: the fiber-rich outer bran, the nutrient-dense embryo known as the germ, and the starchy endosperm. Refined grains, like white flour or white rice, have the bran and germ removed, which strips away much of the fiber, B vitamins, and healthy fats.
To cook whole grains successfully, you must first understand that they are essentially seeds designed to withstand the elements. The outer bran layer is a protective shield that requires heat and hydration to permeate. This is why whole grains typically take longer to cook than their refined counterparts. However, this toughness is also their greatest asset, allowing them to hold their shape in soups, salads, and bowls without disintegrating into a paste.
Toast for Flavor
Before adding any liquid, sauté your dry grains in a small amount of olive oil or butter over medium heat for 3 to 5 minutes. You will hear them crackle and smell a nutty aroma. This simple step, known as toasting, creates complex flavor compounds via the Maillard reaction and helps the grains remain separate after cooking.
One of the most common mistakes is treating every grain like white rice. While the absorption method—where a specific ratio of water is fully absorbed by the grain—works well for some, it can be tricky for tougher grains like wheat berries or pearl barley. For these, the 'pasta method' is often more effective and forgiving.
The Boil
Bring a large pot of salted water to a rolling boil, just as you would for pasta. Use at least four times as much water as you have grains.
The Simmer
Add the grains and reduce the heat to a steady simmer. Cook uncovered until the grains reach your desired level of tenderness. This allows you to taste the grains periodically to ensure they don't overcook.
The Drain
Once tender, drain the grains through a fine-mesh sieve, discarding the excess water.
The Steam
Return the grains to the warm pot, cover with a tight-fitting lid, and let them sit off the heat for 5 to 10 minutes. This final steam allows any remaining surface moisture to be absorbed, resulting in a fluffier texture.
"Grains are the foundation of a meal, not just a side dish. Mastering their texture transforms your entire approach to healthy, satisfying eating."
OttoChef Culinary TeamBeyond the cooking method, the liquid you choose plays a significant role in the final result. While water is the standard, using vegetable or chicken stock adds immediate depth. You can also experiment with adding aromatics to the pot, such as a bay leaf, smashed garlic cloves, or a piece of kombu. These ingredients infuse the grains with subtle flavor from the inside out, making them much more interesting than a plain side dish.
Don't Peek
When using the absorption method, resist the urge to lift the lid to check on the progress. Each time you lift the lid, steam escapes and the internal temperature drops. This disrupts the cooking process and often leads to unevenly cooked grains that are crunchy in the middle.
Soaking is another technique that can significantly improve your results, especially for larger grains like kamut or rye berries. Soaking grains overnight in cool water softens the bran and can reduce cooking times by up to 30 percent. It also helps neutralize phytic acid, an antinutrient that can make grains harder to digest for some people. If you forget to soak overnight, even a quick 30-minute soak in hot water can make a difference in the final texture.
Batch Cook and Freeze
Whole grains take time to cook, but they freeze exceptionally well. Cook a large batch on the weekend, spread them out on a baking sheet to cool completely, and then freeze them in airtight bags. They can be reheated in the microwave or added directly to simmering soups without losing their structural integrity.
Finally, the 'rest' period after cooking is non-negotiable. Whether you use the absorption method or the pasta method, allowing the grains to sit covered and off the heat for at least ten minutes is the secret to a perfect fluff. This period allows the starch molecules to stabilize and the moisture to redistribute evenly throughout the grain. Without this rest, the grains are often sticky on the outside and wet at the bottom of the pot. Once rested, use a fork—never a spoon—to gently fluff the grains, separating the individual kernels and preserving that sought-after 'al dente' texture.
Try This Recipe
Now that you've learned about whole grains demystified: nutrition and cooking tips, put your knowledge into practice with this recipe:
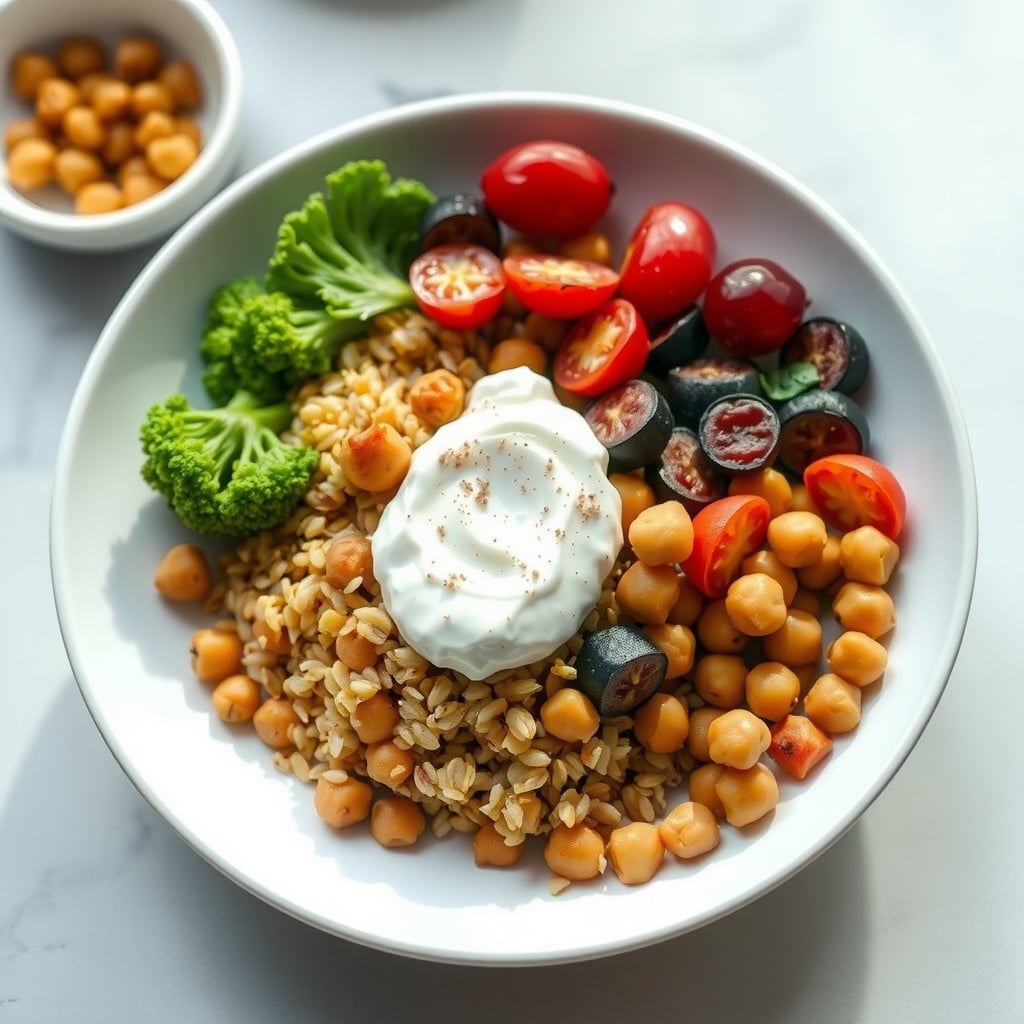
Toasted Farro and Roasted Chickpea Power Bowl
60min
4
View Full Recipe →
Ready to simplify your meal planning?
Let OttoChef AI create personalized meal plans for your family in seconds.