Mastering Food Storage: The Ultimate Guide to Meal Prep Containers
Learn how to choose the right containers to keep your meal prep fresh. From glass vs. plastic to moisture control, this guide ensures your food lasts longer.
Daniel Park
Culinary Contributor
June 11, 2026
5 min read
2 views
Spending hours on a Sunday preparing nutritious meals is a significant investment of your time and energy. However, that effort is quickly undermined when you open a container on Wednesday to find wilted spinach, soggy roasted vegetables, or a protein that has absorbed the 'fridge smell.' The difference between a meal that tastes freshly made and one that feels like a chore to eat often comes down to the vessel it was stored in. Understanding the science of food storage—how air, moisture, and temperature interact with different materials—is a fundamental skill for any home cook looking to master the art of meal planning. When you select a container, you are choosing a micro-environment for your food; selecting the wrong one can accelerate spoilage and degrade texture.
Ethylene Gas
Certain fruits and vegetables, such as apples, avocados, and tomatoes, release ethylene gas as they ripen. This gas can cause ethylene-sensitive produce like broccoli, leafy greens, and cucumbers to spoil prematurely if stored in the same airtight container.
Material choice is the first decision you must make. Glass containers, specifically those made of borosilicate glass, are the gold standard for long-term meal prep. Glass is non-porous, meaning it won't absorb flavors or odors from previous meals, and it doesn't leach chemicals when exposed to heat. This makes glass ideal for pungent dishes like curries or garlic-heavy stir-fries. Furthermore, glass allows for a seamless transition from the refrigerator to the oven or microwave. On the other hand, high-quality, BPA-free plastic containers are lightweight and virtually unbreakable, making them the preferred choice for commuters. However, plastic is prone to staining and can develop micro-scratches over time where bacteria can hide. If you choose plastic, reserve it for cold items like salads or snacks, and avoid using it for oily or tomato-based sauces.
"Proper storage is the bridge between a successful prep session and a week of wasted ingredients."
OttoChef Culinary TeamMoisture management is the next hurdle. For leafy greens and delicate herbs, moisture is both a friend and a foe. They need humidity to stay crisp but will rot if they sit in liquid. To solve this, you can create a humidity-controlled environment within a standard container. This technique prevents the 'sludge' that often forms at the bottom of salad containers by midweek.
The Paper Towel Foundation
Line the bottom of your storage container with a clean, dry paper towel or a thin cloth napkin to absorb excess condensation that naturally occurs in the fridge.
Avoid Overpacking
Place your washed and thoroughly dried greens loosely into the container. Packing them too tightly restricts airflow and causes bruising.
The Top Seal
Place another paper towel on top of the greens before snapping the lid on. This creates a 360-degree moisture-wicking system that can extend the life of greens by up to five days.
The Herb Bouquet
Hardy herbs like rosemary and thyme do well in airtight containers, but soft herbs like cilantro and parsley should be treated like flowers. Stand them in a small jar with an inch of water and cover the tops loosely with a reusable silicone bag.
Beyond materials and moisture, you must consider the seal. Not all lids are created equal. Silicone-rimmed 'snap' lids provide a much more reliable airtight seal than standard press-on lids. This is critical for preventing oxidation—the process that turns avocados brown and makes cut fruit taste 'off.' If you are storing liquids like soups or stews, look for containers with a four-hinge locking system to prevent messy leaks and keep air out. For those looking to maximize space, vacuum-sealing systems have become increasingly accessible for home cooks. By removing nearly all oxygen, you can significantly slow down the enzymatic processes that lead to food degradation.
Cooling Before Sealing
Never snap a lid onto a container while the food is still steaming hot. This creates a vacuum that can be difficult to open and, more importantly, traps heat that keeps the food in the 'danger zone' for bacterial growth (40°F to 140°F) for too long. Let food reach room temperature before sealing.
Organization and safety are the final components of a professional storage system. Even the best container won't help if you forget what's inside. Using a simple roll of painter's tape and a permanent marker allows you to label every container with the contents and the date it was prepared. This 'First-In, First-Out' (FIFO) method is a staple in professional kitchens and prevents the mystery-container phenomenon at the back of the shelf.
Batch Freezing
When freezing portions of grains or soups, leave at least half an inch of 'headspace' at the top of the container. Liquids and grains expand as they freeze, and an overfilled container can crack or pop its lid, leading to freezer burn.
Finally, consider the specialized needs of different proteins. Cooked poultry and beef should be stored in the coldest part of your refrigerator, usually the back of the bottom shelf. For seafood, which is highly perishable, it is best to store it on a bed of ice within a larger container if you aren't eating it within 24 hours of cooking. By matching the container material, the sealing method, and the internal environment to the specific needs of your food, you transform your refrigerator from a holding cell into a preservation system. This attention to detail ensures that your Friday lunch is just as satisfying and safe as your Monday dinner, making the effort of meal planning truly pay off.
Try This Recipe
Now that you've learned about the container guide: best storage for different foods, put your knowledge into practice with this recipe:
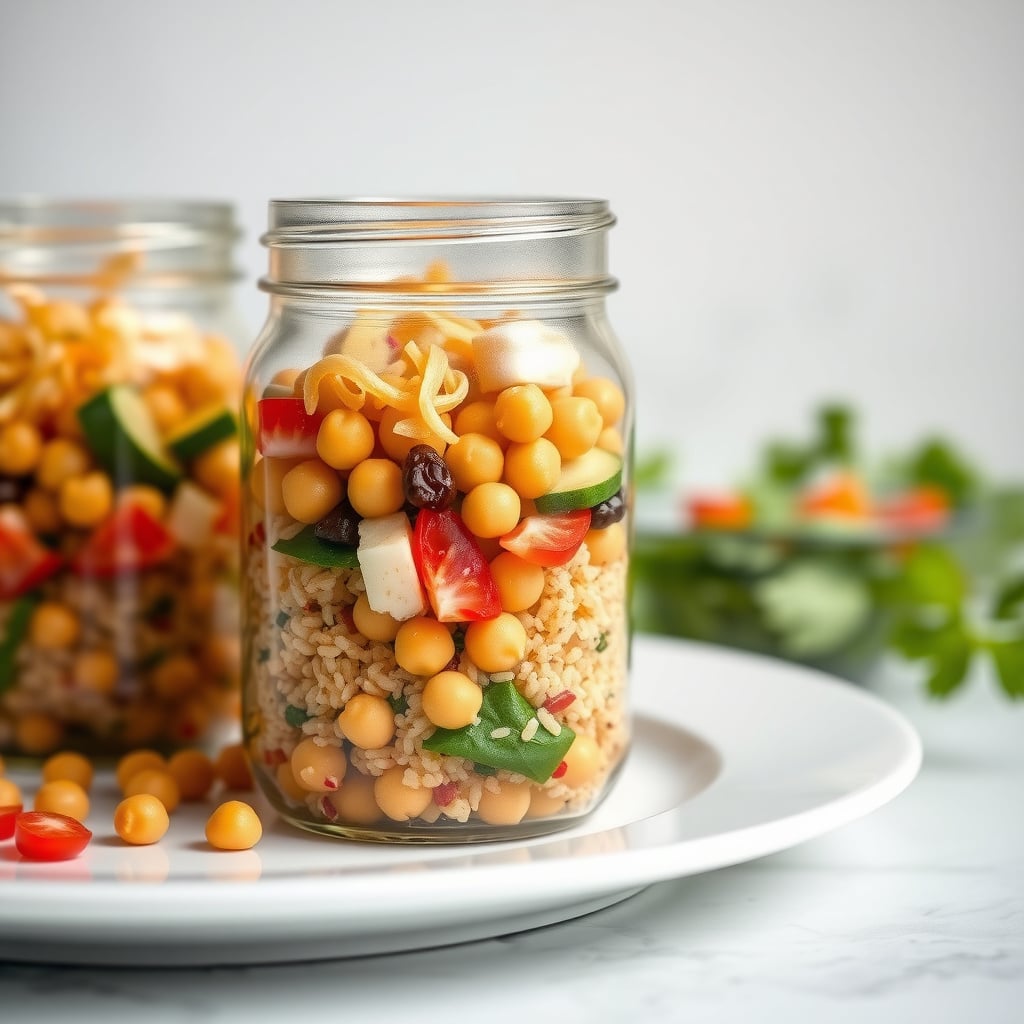
Mason Jar Mediterranean Power Bowl
45min
4
View Full Recipe →
Ready to simplify your meal planning?
Let OttoChef AI create personalized meal plans for your family in seconds.