Master Vegetable Prep: Keep Your Produce Fresh All Week
Learn professional techniques for prepping vegetables that maintain peak freshness for days. Smart strategies for meal prep success without wilting or browning.
Emma Chen
Recipe Developer
March 28, 2026
9 min read
16 views
You open your refrigerator on Wednesday evening, excited to use those perfectly prepped vegetables from Sunday's meal prep session. Instead, you find limp lettuce, browned avocado, and carrots that bend like rubber. Sound familiar?
The difference between successful meal prep and a drawer full of compost isn't just about storage containers—it's about understanding how vegetables respond to cutting, exposure to air, and different storage conditions. Professional kitchens have mastered these techniques to maintain produce quality for service, and you can apply the same principles at home.
Understanding Why Vegetables Deteriorate
When you cut into a vegetable, you're breaking cell walls and exposing enzymes to oxygen. This triggers oxidation (browning), moisture loss (wilting), and enzymatic breakdown (mushiness). Different vegetables deteriorate through different mechanisms, which means they require different prep and storage strategies.
Leafy greens wilt because they lose moisture through their large surface area. Root vegetables like potatoes brown when their phenolic compounds oxidize. Alliums like onions release sulfur compounds that can affect flavor. Understanding these processes helps you counteract them effectively.
The Science of Browning
Enzymatic browning occurs when polyphenol oxidase enzymes react with oxygen. This is why cut apples, potatoes, and avocados turn brown. Acid (like lemon juice) or cold water can slow this process by limiting oxygen exposure or denaturing the enzymes.
Leafy Greens: The Moisture Balance Challenge
Leafy greens require a delicate balance—too dry and they wilt, too wet and they rot. The restaurant trick? Wash them thoroughly, then dry them completely before storage.
Wash Properly
Fill a large bowl or clean sink with cold water. Submerge greens and agitate gently to release dirt and debris. Lift greens out rather than pouring (which pours dirty water back over them). Repeat if water is still gritty.
Dry Thoroughly
Use a salad spinner to remove most water, then spread on clean kitchen towels. Roll the towels up loosely and refrigerate for 30 minutes. This removes surface moisture while maintaining internal hydration.
Store Smart
Line containers with paper towels to absorb any residual moisture. Store whole leaves when possible—cutting increases surface area and accelerates deterioration. If you must chop, do it no more than 2-3 days ahead.
The Paper Towel Trick
Place a folded paper towel on top of stored greens, not just on the bottom. As greens respire, they release moisture upward. The top towel prevents condensation from dripping back down and creating a breeding ground for bacteria.
Hardy Vegetables: Cut Smart, Store Smarter
Root vegetables, cruciferous vegetables, and other hardy produce can be prepped further in advance, but the cutting method matters enormously.
For carrots, celery, and bell peppers, store cut pieces submerged in cold water in the refrigerator. Change the water every two days. This prevents oxidation and maintains crispness through osmotic pressure—the vegetables stay hydrated from the outside in. These can last 5-7 days when stored this way.
Broccoli and cauliflower are trickier. Cut florets oxidize and develop off-flavors quickly. Your best approach: break into florets but keep them larger than you ultimately need. Store in breathable containers (not airtight) with a barely damp paper towel. Cut to final size right before cooking.
The Cruciferous Exception
Don't store cut broccoli, cauliflower, or cabbage in water. These vegetables contain glucosinolates that break down in water, creating sulfurous off-flavors and mushy texture. They need air circulation instead.
Alliums: Managing Pungency and Flavor Transfer
Onions, garlic, shallots, and leeks present a unique challenge. Once cut, they release volatile sulfur compounds that intensify over time and transfer flavors to other foods.
"The key to prepping alliums is accepting that some flavor change is inevitable. Your goal is managing it, not preventing it."
Chef's principleFor onions and shallots, dice or slice them and store in airtight containers for no more than 2-3 days. Keep them separate from other prepped vegetables—those sulfur compounds will migrate. If you're meal prepping, consider this: raw onions become more pungent with storage, while their sweetness diminishes. Adjust your recipes accordingly, perhaps using slightly less than you would with fresh.
Garlic is even more volatile. Minced garlic develops harsh, bitter notes within hours. Instead, peel whole cloves and store them in a small container with a splash of neutral oil. Mince or press right before use. This two-minute task is worth protecting your dish's flavor.
The Make-Ahead Garlic Solution
For true convenience, make garlic confit: submerge peeled cloves in olive oil and store refrigerated. The oil prevents oxidation, and you get bonus garlic-infused oil for cooking. Use within one week and always keep refrigerated to prevent botulism risk.
Tomatoes and Soft Vegetables: Timing Is Everything
Tomatoes, zucchini, eggplant, and mushrooms contain high water content and delicate cell structures. Cutting them triggers rapid moisture loss and texture degradation.
For these vegetables, flip your meal prep strategy: prep everything else in advance, but cut these within 24 hours of use. If you must prep tomatoes ahead, keep them in large pieces (halves or quarters) rather than dicing them. The smaller the pieces, the faster they break down.
Mushrooms deserve special mention: never wash them until you're ready to cook. They're like sponges and absorb water readily, leading to soggy, flavorless results. Instead, store them in a paper bag in the refrigerator, and clean them with a damp cloth or mushroom brush right before use.
The Ethylene Factor
Some vegetables produce ethylene gas, which accelerates ripening and deterioration in other produce. Keep ethylene producers (tomatoes, peppers) separate from ethylene-sensitive vegetables (leafy greens, broccoli, carrots) during storage.
Herbs: Fresh Flavor That Lasts
Herbs are the most fragile element of meal prep, but with proper technique, you can maintain their vibrancy for a full week.
Tender herbs (basil, cilantro, parsley, dill) should be treated like flowers. Trim the stems, place in a jar with an inch of water, and cover loosely with a plastic bag. Store at room temperature for basil (it blackens in the cold), refrigerate others. Change water every two days.
Hardy herbs (rosemary, thyme, sage, oregano) prefer different treatment. Wrap them loosely in a barely damp paper towel, place in a partially open plastic bag, and refrigerate. The goal is humidity without wetness.
For chopped herbs, your window is much shorter—24 hours maximum. The cell damage from chopping releases enzymes that quickly darken and deteriorate the herbs. One exception: you can freeze chopped herbs in olive oil in ice cube trays for longer storage, though they'll only be suitable for cooked dishes, not fresh applications.
Advanced Techniques: Blanching and Shocking
For vegetables you plan to use in cooked dishes, blanching and shocking can actually extend their life while making final meal assembly faster.
Blanch
Boil a large pot of heavily salted water. Add vegetables and cook briefly—30 seconds for spinach, 2 minutes for green beans, 3 minutes for broccoli. You're partially cooking them and deactivating enzymes that cause deterioration.
Shock
Immediately plunge blanched vegetables into ice water to stop the cooking process. This preserves their bright color and crisp-tender texture.
Dry and Store
Drain thoroughly and pat dry. Store in airtight containers with minimal air space. These will last 4-5 days and need only brief reheating before serving.
This technique works beautifully for green beans, asparagus, broccoli, snap peas, and green vegetables where color retention matters. It's less useful for vegetables you want to eat raw or that benefit from caramelization during cooking.
Blanching Bonus
Blanched vegetables are perfect for quick weeknight stir-fries or pasta dishes. You've already done the hard work of prep and initial cooking—final assembly takes minutes.
The Container Question
Your storage containers matter more than you might think. Airtight isn't always best—some vegetables need air circulation to prevent moisture buildup and rot.
For cut vegetables stored in water (carrots, celery, peppers), use containers just large enough to hold them with water. Excess air space promotes bacterial growth.
For greens and herbs, you want containers that allow minimal air circulation while preventing drying. Glass containers with rubber-sealed lids work well.
For vegetables that need breathability (cruciferous vegetables, mushrooms), use containers with small vents or leave lids slightly ajar.
The Plastic Problem
Avoid storing cut onions, garlic, or other pungent vegetables in plastic containers if you want to use those containers for other foods. The odors permeate plastic permanently. Use glass for alliums, or designate specific plastic containers for them.
Putting It All Together: A Weekly Prep Strategy
Successful vegetable prep isn't about doing everything on Sunday. It's about understanding what you can prep ahead and what needs to wait.
Sunday (or your prep day):
- Wash and dry all leafy greens
- Cut carrots, celery, peppers and submerge in water
- Blanch and shock green vegetables for cooked dishes
- Prep herb bouquets in water
- Peel garlic cloves, store in oil
Wednesday refresh:
- Change water for submerged vegetables
- Check and replace paper towels in green storage
- Trim herb stems, refresh water
Day-of or day-before:
- Chop onions, shallots
- Cut tomatoes, zucchini, eggplant
- Dice or mince herbs
- Cut cruciferous vegetables to final size
This staggered approach means you're never spending hours in the kitchen at once, but you're also never starting from scratch. It's the professional kitchen approach adapted for home cooking.
The transformation in your meal prep success comes from working with vegetables' natural properties rather than against them. When you understand why that lettuce wilts or that onion gets harsh, you can take specific steps to prevent it. Your Wednesday dinner becomes as fresh and appealing as your Sunday one, and that drawer of vegetables actually gets used instead of composted.
Start with one or two techniques that address your biggest frustrations. Master those, then expand your repertoire. Your future self—the one who comes home tired on a weeknight and finds fresh, ready-to-use vegetables waiting—will thank you.
Try This Recipe
Now that you've learned about vegetable prep techniques that maintain freshness, put your knowledge into practice with this recipe:
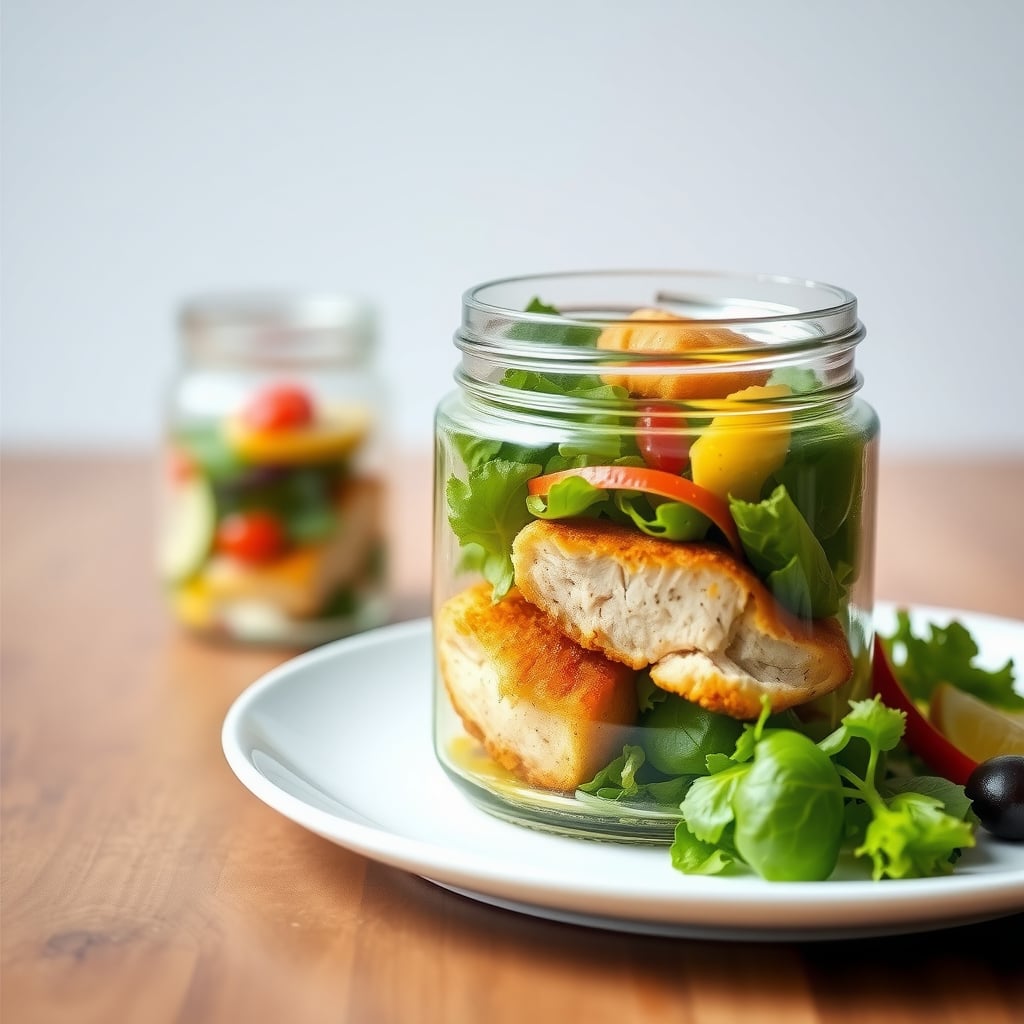
Make-Ahead Mason Jar Power Salad with Herb-Lemon Chicken
40min
4
View Full Recipe →
Ready to simplify your meal planning?
Let OttoChef AI create personalized meal plans for your family in seconds.