
How to Cure Egg Yolks: The Ultimate Budget Cheese Alternative
Learn how to salt-cure egg yolks at home. This simple, budget-friendly technique yields a rich, savory topping that rivals expensive grating cheeses.
Emma Chen
Recipe Developer
August 30, 2026
5 min read
21 views
Acquiring premium grating cheeses like Parmigiano-Reggiano, Pecorino Romano, or luxury finishes like bottarga can quickly inflate your grocery budget. While these ingredients offer undeniable depth and savory complexity to dishes, their high price tag often makes them a luxury rather than a pantry staple. Fortunately, a classic preservation technique offers an incredibly affordable, restaurant-quality alternative using an ingredient you likely already have in your refrigerator: egg yolks.
Salt-curing egg yolks transforms a humble, inexpensive protein into a firm, grateable gem. The finished product boasts a rich, buttery, and deeply savory flavor profile that mimics the umami punch of a high-end aged cheese. By mastering this simple technique, you can elevate everyday meals without spending a fortune.
The Science of Curing
To understand why this technique works so well, we have to look at the science of food preservation. Curing is one of humanity's oldest methods of keeping food stable without refrigeration. When you bury egg yolks in a mixture of salt and sugar, you initiate a process called osmosis.
The Science of Osmosis
Salt draws moisture out of the yolk while denaturing its proteins, creating a firm, sliceable texture and concentrating the rich, fatty lipids. This concentration of fats and proteins is what yields that deeply satisfying, cheese-like umami flavor.
During the curing process, the salt and sugar draw water out of the yolk, reducing its water activity to a point where bacteria cannot survive. At the same time, the salt penetrates the yolk, seasoning it deeply. The addition of sugar tempers the harshness of the salt, resulting in a balanced, complex flavor profile.
“Curing egg yolks is the ultimate culinary shortcut. With just salt, sugar, and time, you transform a humble breakfast staple into a deeply savory ingredient that rivals the finest imported cheeses.”
Chef Olivia ChenThe Step-by-Step Curing Process
Curing egg yolks requires minimal active preparation time, though it does require patience. Here is how to execute this technique successfully at home.
Prepare the Curing Bed
In a medium bowl, thoroughly combine equal parts kosher salt and granulated sugar (about 1.5 cups of each for 4 to 6 yolks). Spread half of this mixture into the bottom of a shallow glass baking dish or container, creating a bed at least half an inch deep. Use the back of a spoon to press small, gentle indentations into the mixture to cradle the yolks.
Separate and Place the Yolks
Carefully separate your eggs, ensuring no whites remain attached to the yolks and that the yolks do not rupture. Gently slide one intact yolk into each prepared indentation. Slowly pour the remaining salt-sugar mixture over the yolks until they are completely covered and buried.
The Cold Cure
Cover the container tightly with plastic wrap and place it in the refrigerator. Let the yolks cure undisturbed for 4 to 7 days. A four-day cure yields a slightly softer, jammy center, while a seven-day cure produces a firm, fully solid yolk that is much easier to grate cleanly.
Rinse and Dehydrate
Gently dig the yolks out of the cure. They should feel firm to the touch. Carefully rinse them under cold water to remove excess salt, then pat them dry with a paper towel. To complete the process, place the yolks on a wire rack set inside a baking sheet and dry them in an oven set to its lowest temperature (around 150°F to 170°F) for 2 to 3 hours, or use a food dehydrator. They are ready when they feel firm and look translucent, like dried apricots.
Gentle Rinsing
When washing the cure off the yolks, use a very gentle stream of cold water. Raw cured yolks are delicate before they are dried and can easily rupture if handled roughly.
Creative Flavor Variations
Once you master the basic cure, you can customize the flavor profile to match your culinary preferences. The salt-sugar mixture acts as a blank canvas for dry seasonings and aromatics.
To infuse your yolks with additional complexity, try mixing these ingredients into your dry cure:
- Smoked Paprika: Adds a warm, smoky depth reminiscent of Spanish chorizo.
- Finely Grated Zest: Lemon or lime zest introduces a bright, citrusy contrast to the rich yolk.
- Dried Herbs: Ground rosemary, thyme, or oregano lend an earthy, Mediterranean flair.
- MSG or Mushroom Powder: A pinch of monosodium glutamate or porcini powder amplifies the savory umami output.
Save the Whites
Don't let the leftover egg whites go to waste. Store them in a clean container in the freezer for future use in meringues, whiskey sours, or a high-protein breakfast scramble.
How to Use Your Cured Yolks
Because cured yolks are intensely savory and rich, a little goes a long way. Use a microplane or fine grater to shave the yolks over finished dishes just before serving.
They perform exceptionally well when grated over a simple plate of spaghetti tossed with olive oil and garlic, adding a rich, velvety texture as they melt into the warm pasta. Shave them over roasted asparagus, warm potato salads, or simple buttered toast to add instant luxury. They also make a stunning, colorful garnish over creamy soups or mixed green salads, offering a pop of gold and a burst of savory flavor that will leave your dinner guests guessing your secret ingredient.
Try This Recipe
Now that you've learned about salt-curing egg yolks: a budget-friendly alternative to luxury grating cheeses, put your knowledge into practice with this recipe:
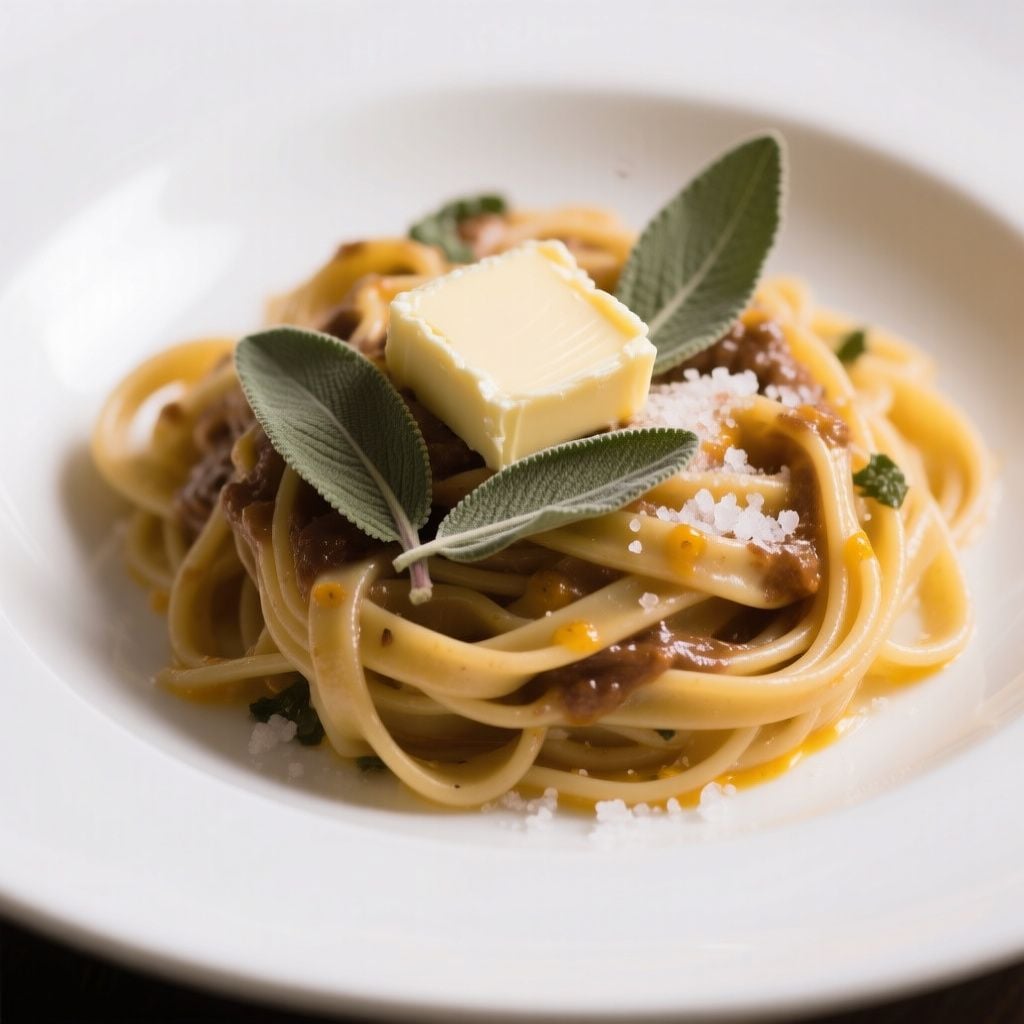
Brown Butter and Sage Bucatini with Grated Salt-Cured Egg Yolk
25min
4
View Full Recipe →
Ready to simplify your meal planning?
Let OttoChef AI create personalized meal plans for your family — free to use, no credit card.