
How to Build a Reusable Nukadoko Bed for Traditional Japanese Pickles
Learn how to build and maintain a traditional Japanese nukadoko (rice bran fermenting bed) for continuous, probiotic-rich meal prep pickles.
Sarah Mitchell
Test Kitchen Director
August 6, 2026
5 min read
7 views
Imagine having a continuous, self-sustaining source of crisp, savory, probiotic-rich pickles ready to accompany any meal. While quick-pickling with vinegar is convenient, traditional Japanese nukazuke offers an entirely different depth of flavor. These pickles are fermented in a reusable bed of rice bran known as a nukadoko.
Unlike one-off brines that you discard, a nukadoko is a living kitchen companion. With daily care, this culture can last for years, becoming more complex and flavorful over time. For meal-preppers, it is an efficient, zero-waste system: you bury raw vegetables in the morning and retrieve perfectly seasoned, crunchy pickles by dinner.
Here is how to build, nurture, and maintain your own traditional nukadoko bed from scratch.
Understanding the Science of Nuka Fermentation
Before mixing your bed, it helps to understand what is happening beneath the surface. Nukadoko fermentation relies on wild lactic acid bacteria and yeasts. These microbes consume the sugars in the rice bran and the vegetables you insert, producing lactic acid, which preserves the food and imparts a signature tangy, complex flavor.
The Origin of Nuka
Nuka is the nutrient-dense outer husk of brown rice, removed during the polishing process. Historically, Japanese households used this abundant byproduct to preserve summer harvests, simultaneously enriching their diets with Vitamin B1, potassium, and beneficial dietary fiber.
To keep this microbial ecosystem happy, you must balance three elements: salt (which prevents spoilage), moisture (which allows microbes to move), and oxygen (regulated by manual stirring).
Step-by-Step: Building Your First Nukadoko
Creating your bed requires patience, but the hands-on process is incredibly simple. You will need a non-reactive container (ceramic, glass, or food-grade plastic) that holds at least 5 to 6 liters, food-grade rice bran (nuka), sea salt, water, and natural aromatics.
Sourcing and Toasting the Bran
Acquire fresh, unsweetened rice bran. If using raw nuka, gently toast it in a dry skillet over medium-low heat until it smells warm and nutty, then let it cool completely. This kills wild pathogens while enhancing the aroma.
Preparing the Salt Brine
Dissolve non-iodized sea salt in boiling water. You want a salt concentration of roughly 13% to 15% relative to the water weight. Let this brine cool to room temperature before proceeding to avoid killing the beneficial wild yeasts.
Mixing the Bed
Slowly pour the cooled brine into your rice bran, mixing thoroughly with clean hands. The target texture is that of wet sand or clean clay—it should hold its shape when squeezed without dripping excess water.
Adding the Aromatics
Mix in traditional flavor enhancers: a piece of dried kombu (kelp) for umami, two or three dried red chili peppers (taka-no-tsume) to deter spoilage, and a few strips of dried yuzu or ginger for brightness.
The Starter Phase (Sute-zuke)
Because your new bed lacks active lactic acid bacteria, you must prime it. Bury vegetable scraps (like cabbage leaves, carrot tops, or daikon peelings) in the bed. Replace these scraps every 24 to 48 hours for 10 days. Do not eat these starter pickles; they are purely food for your developing microbial colony.
The Salt Barrier
Never skimp on salt during the initial build. Salt is your primary defense against harmful bacteria before the lactic acid bacteria multiply enough to lower the pH. Keep the salt ratio precise.
Maintaining Your Living Heirloom
Once your nukadoko smells pleasantly sour, slightly yeasty, and fruity (around day 10 to 14), it is ready to ferment vegetables for consumption. Cucumbers, eggplants, daikon, and carrots are classic choices.
Because this is a living ecosystem, it requires regular maintenance to stay healthy.
“A well-maintained nukadoko is not just a fermentation medium; it is a living kitchen heirloom that carries the unique microbial signature of the home.”
Traditional Japanese Fermentation WisdomDaily Stirring
You must stir your nukadoko from the bottom up at least once a day (or twice daily during hot summer months). This process introduces oxygen to the top layer, preventing surface yeasts from overproducing, while burying the anaerobic lactic acid bacteria at the bottom to keep them balanced.
The Daily Turn
Use your bare, clean hands to stir. The natural microflora on your skin actually contributes to the unique character of your fermenting bed, while the nutrient-rich rice bran oils act as a natural moisturizer for your hands.
Moisture Control
As you insert fresh vegetables, they will release water into the bed, making it muddy. If your nukadoko becomes too wet, bacteria will suffocate, causing off-odors.
- To fix excess moisture: Bury a dry paper towel or a dedicated ceramic moisture-absorber (nukauke) in the center to draw out water. Alternatively, stir in a few tablespoons of fresh, dry rice bran and a pinch of salt to restore the wet-sand consistency.
Integrating Nukadoko into Your Meal Prep
A mature nukadoko is a meal-prep powerhouse. Instead of spending hours chopping and cooking, you can prep your vegetables in minutes.
- Morning Prep: Before leaving for work, wash a Japanese cucumber or a halved baby eggplant. Rub a small amount of salt onto its skin (this preserves the vibrant color), and bury it completely in the bed.
- Evening Retrieval: By dinner, brush off the rice bran, rinse the vegetable quickly under cold water, slice, and serve. You have an instant, crunchy, gut-healthy side dish that perfectly balances rich main courses.
With proper care, your nukadoko will become an indispensable part of your kitchen routine, turning simple vegetables into complex culinary highlights day after day.
Try This Recipe
Now that you've learned about how to build a reusable nukadoko bed for traditional japanese rice-bran pickles, put your knowledge into practice with this recipe:
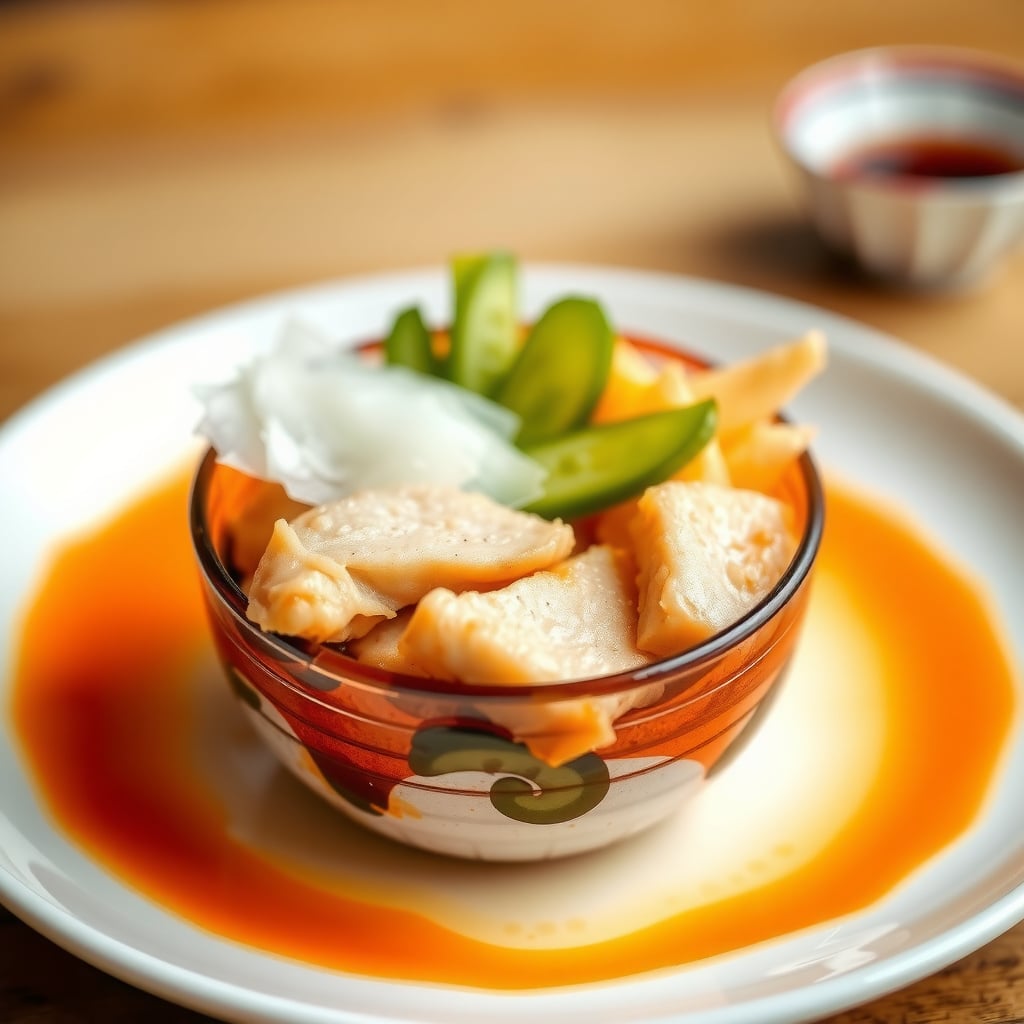
Ginger Chicken Soboro Don with Crisp Nukazuke Pickles
30min
4
View Full Recipe →
Ready to simplify your meal planning?
Let OttoChef AI create personalized meal plans for your family — free to use, no credit card.